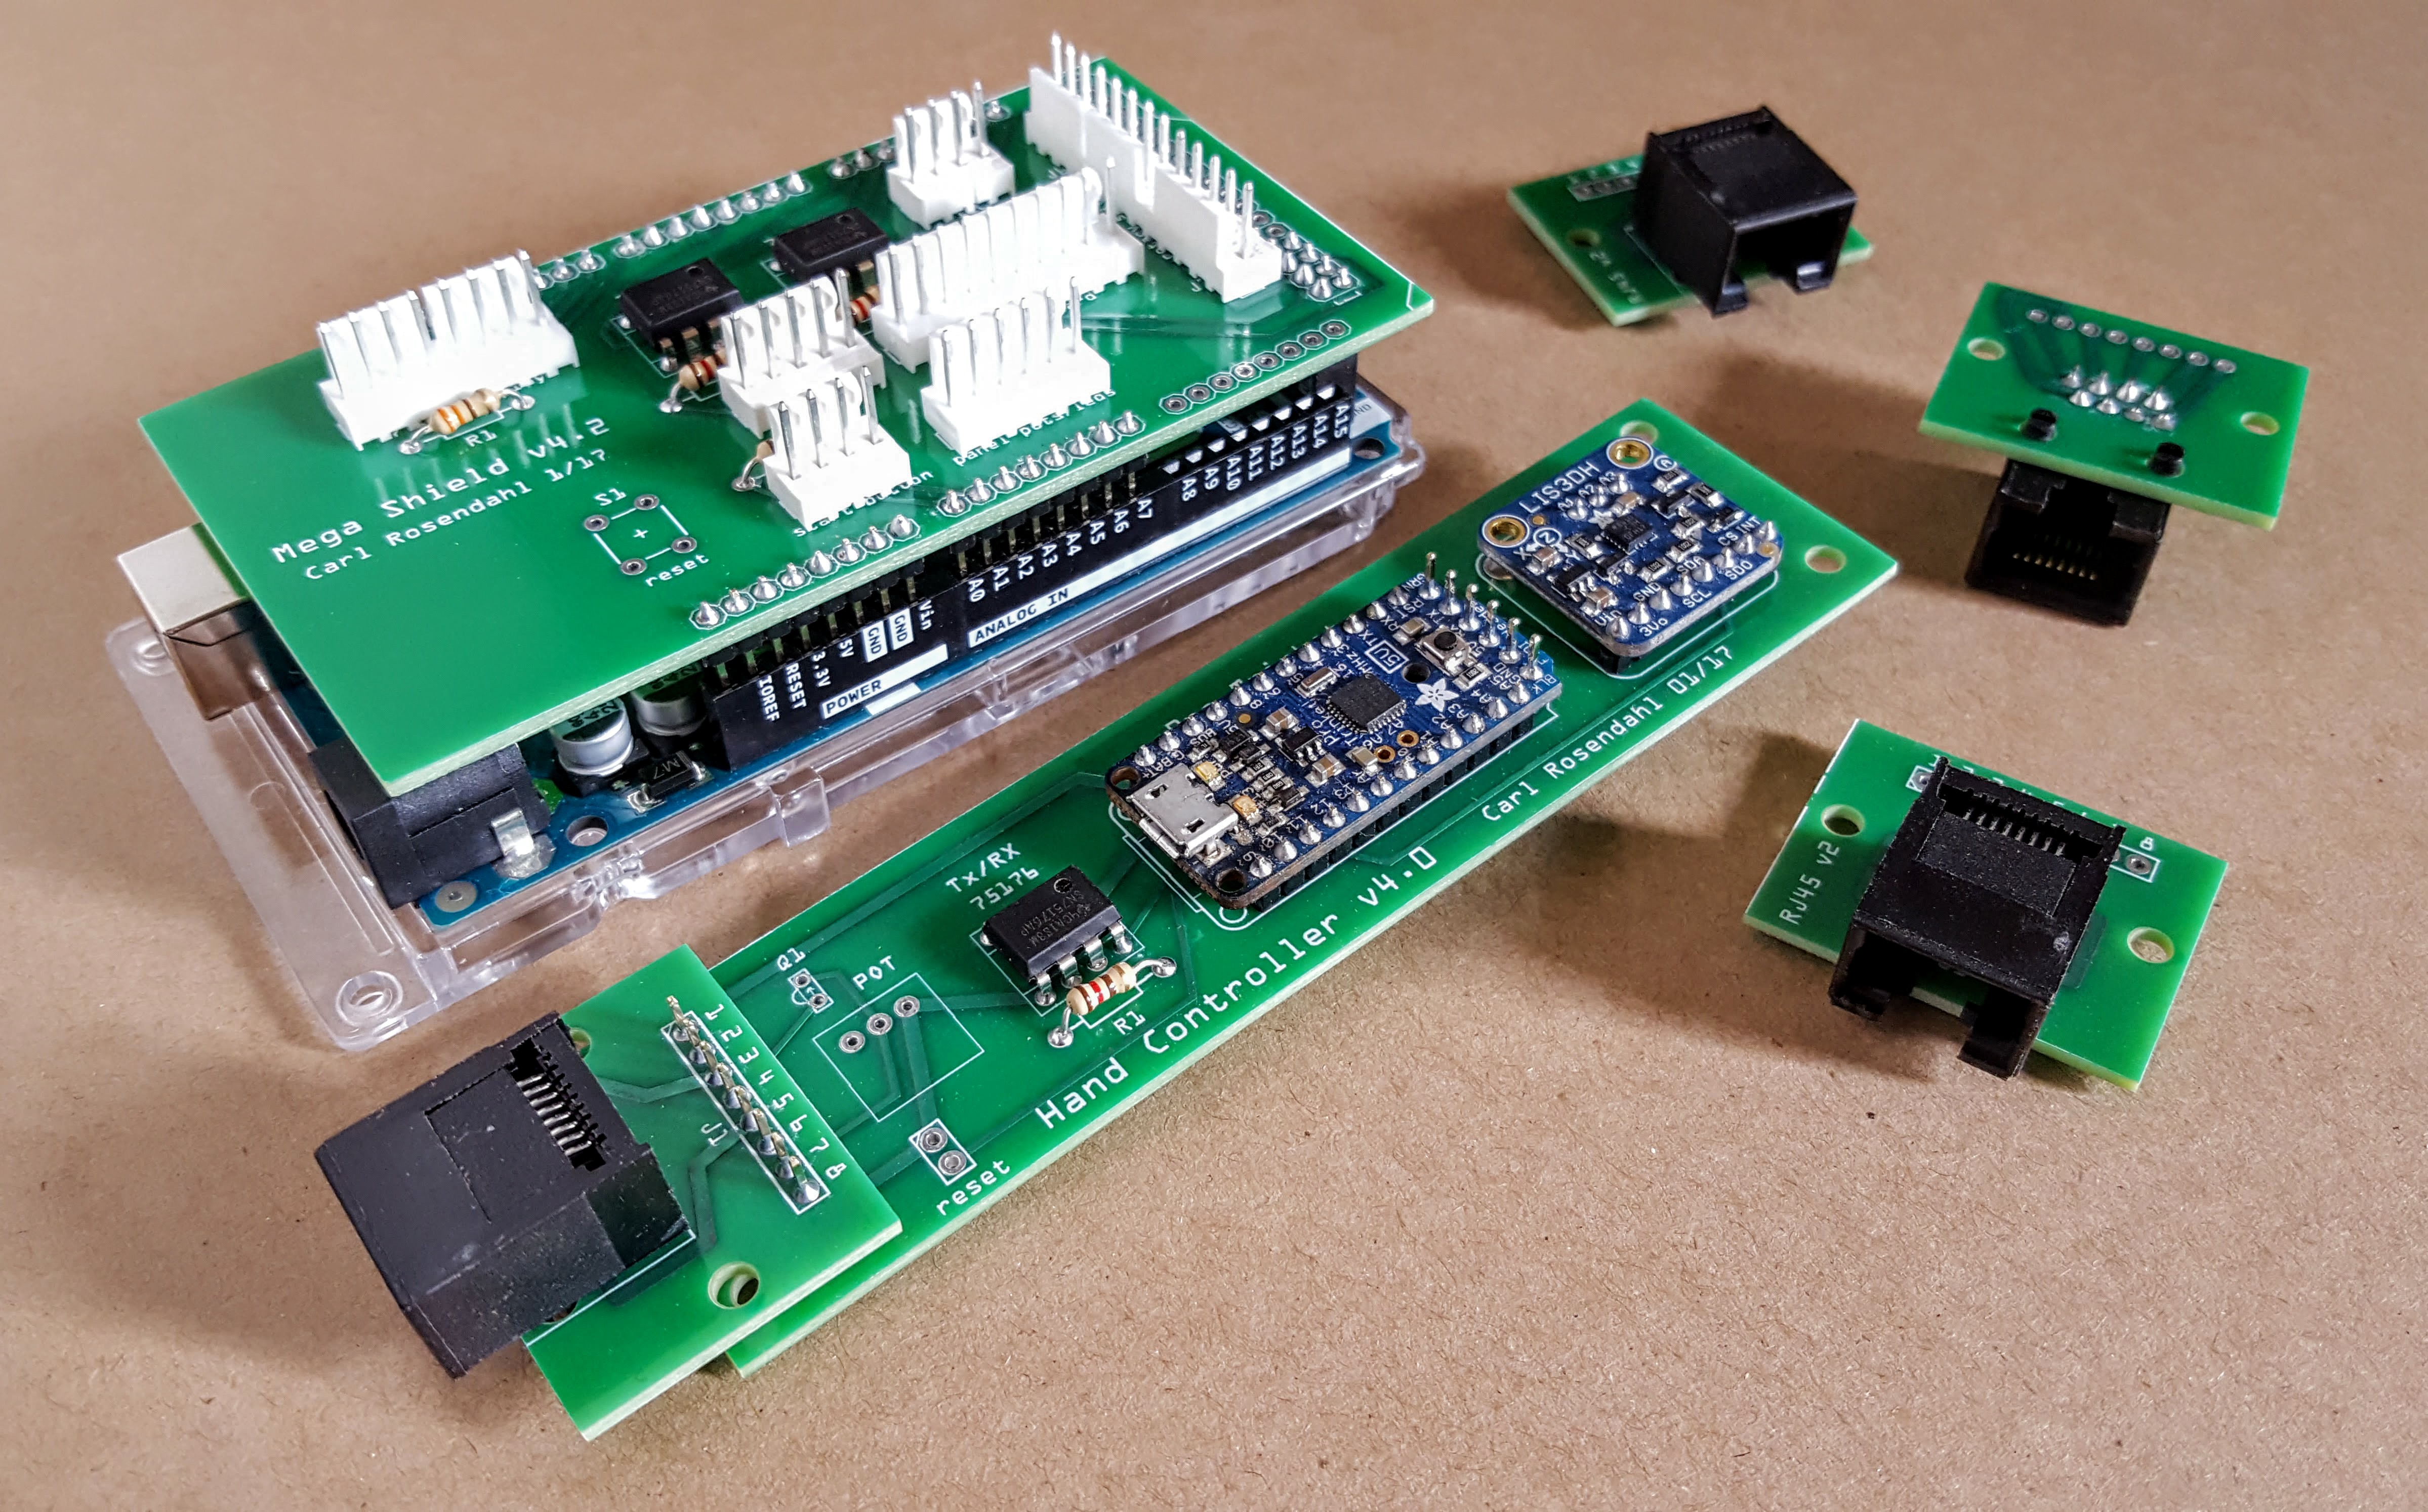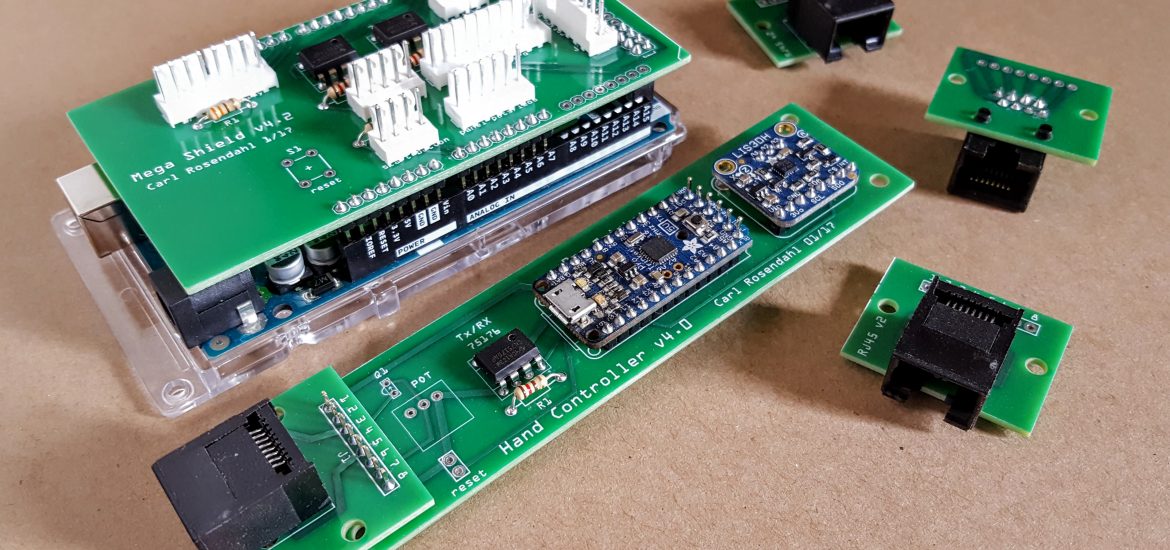
Over the course of a couple nights I got the PCBs cut up and mostly assembled.
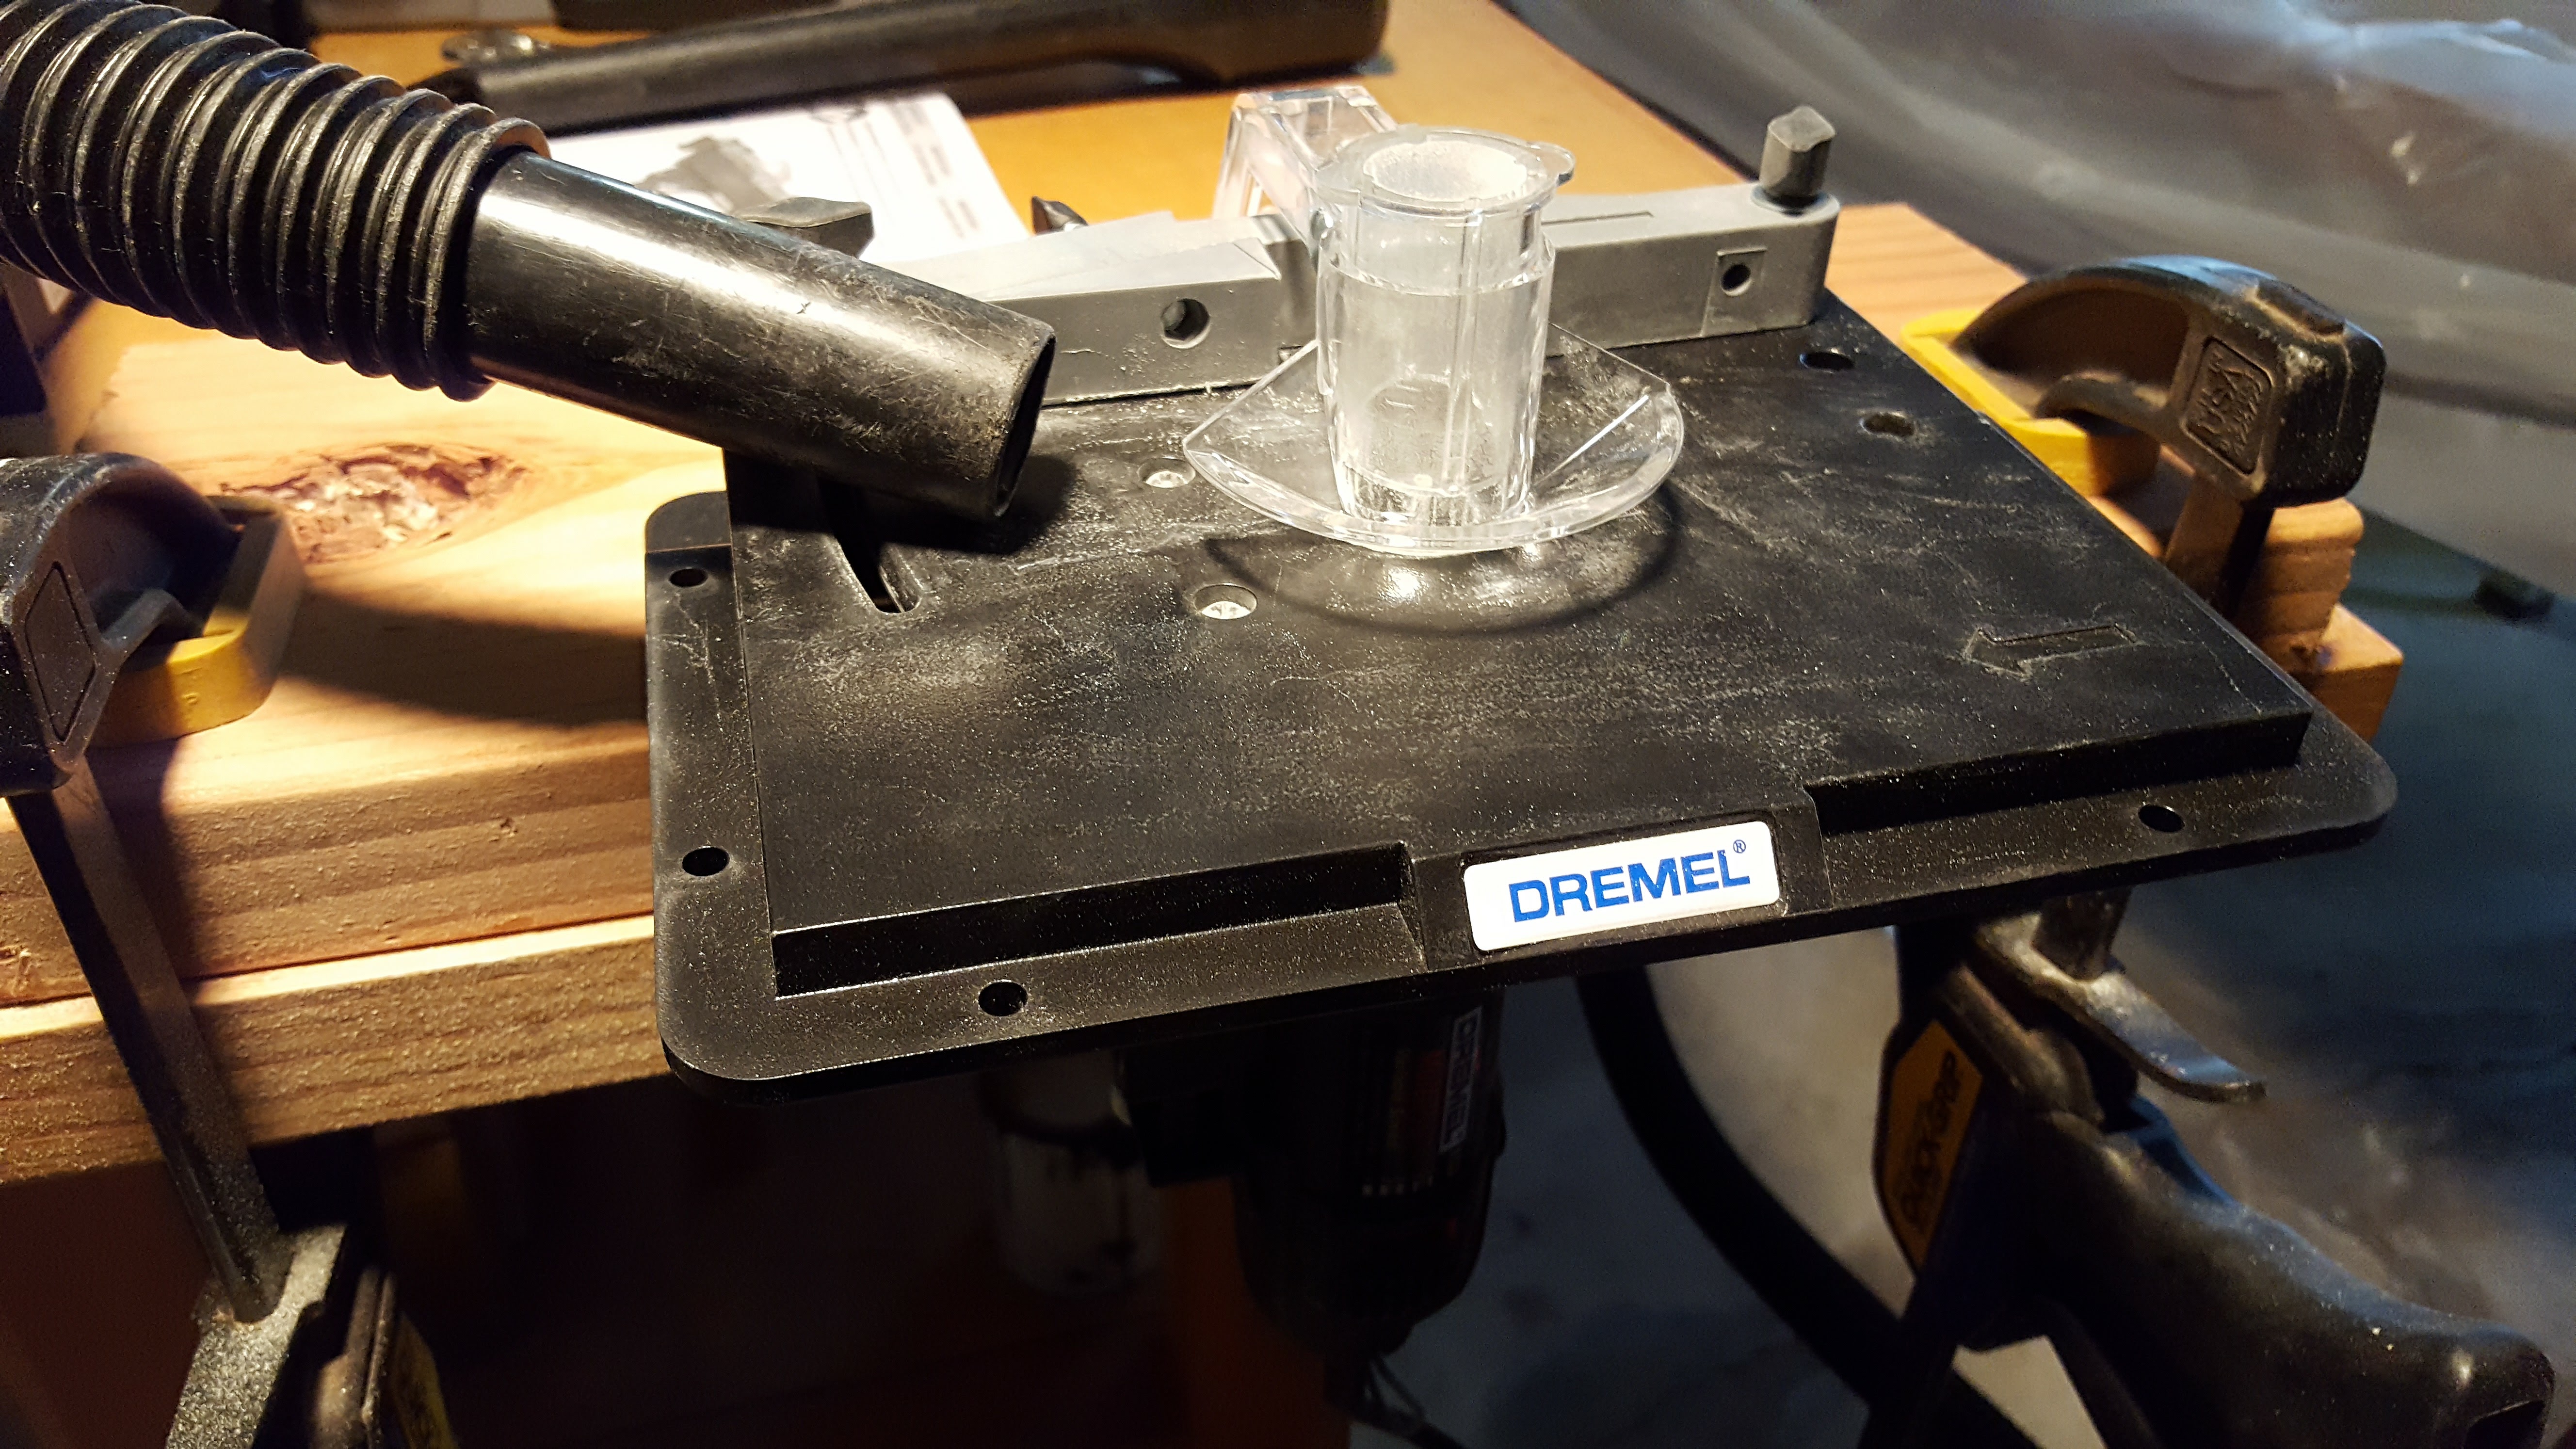
I used a Dremel router table with a 3/32″ router bit to cut the PCB down to its individual elements. It worked okay, but I wouldn’t want to do too many this way. The small boards tended to shutter a lot as there weren’t a lot of ways for me to hold them down tight to the table. After cutting them I took the pieces over to my small table belt sander and evened and smoothed up the edges.
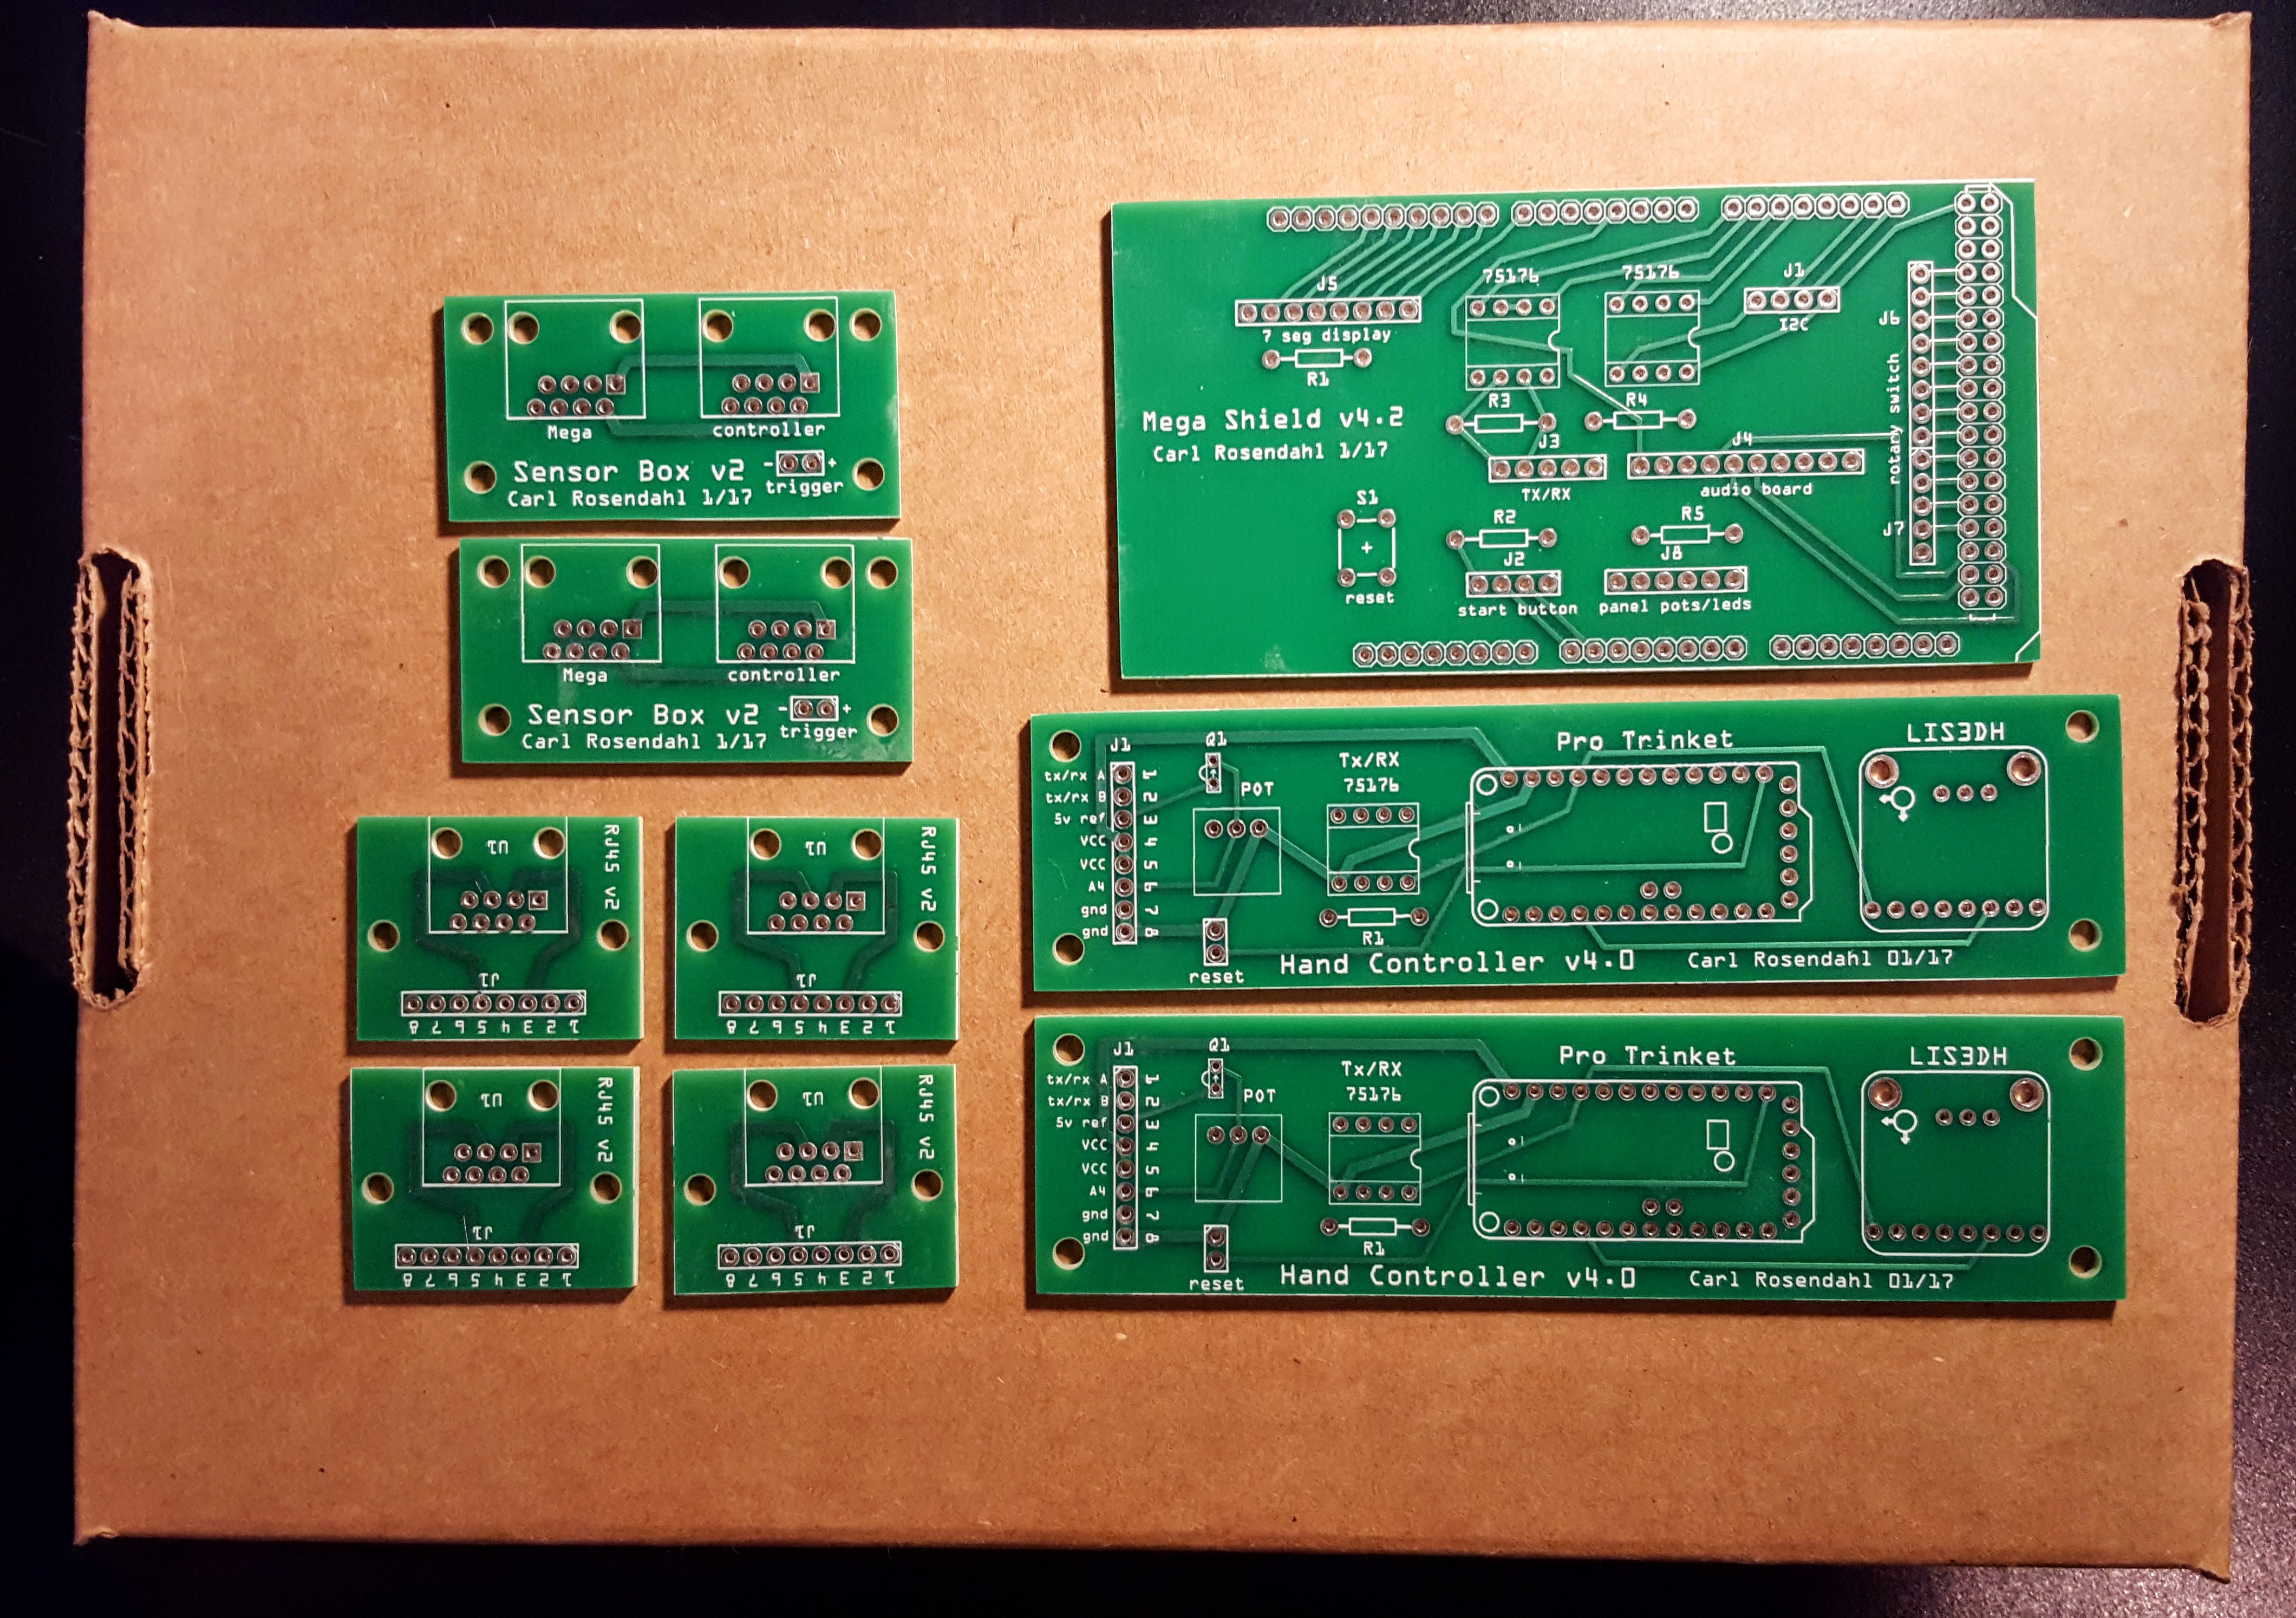
The next evening I soldered components onto one of the Hand Controller boards and filled out the Arduino Mega shield with its few components and lots of connectors. BTW, Molex doesn’t define which is Pin 1 on the connectors, so you have to decide on your own standard – I chose what it seems “most” people do after a brief Internet search.