I’ve been fixing problems, tuning software, and laser cutting as I prep for my next playtest.
Software Changes
- Fixed swing timing. The biggest issue from Playtest #1 was with players swinging late. The game allowed you to swing a bit early, but never late. Fixing a couple lines of code was all it took to make it work as expected. It made a noticeable difference when I tested at home.
- Merged single player and two player code and simplified a lot of it. For ease of development I had originally made a copy of the two player game and modified it to be a single player game. That worked well for fast development and testing, but made changes hard to track and duplicate. It is now one piece of code that uses a flag to know which controllers are human vs. machine.
- Improved data collection. In Playtest #1 I collected data from ~150 games, but the swing data I really needed wasn’t accurate. It is now. Also, I was only able to collect data from the two player game before, thus missing the opportunity to get it from single players. With the merging of the code I now get data from all players and games. I can accurately see when and how fast players swing, how long rallys last, and how fast the ball is going.
Hand Controller Testing
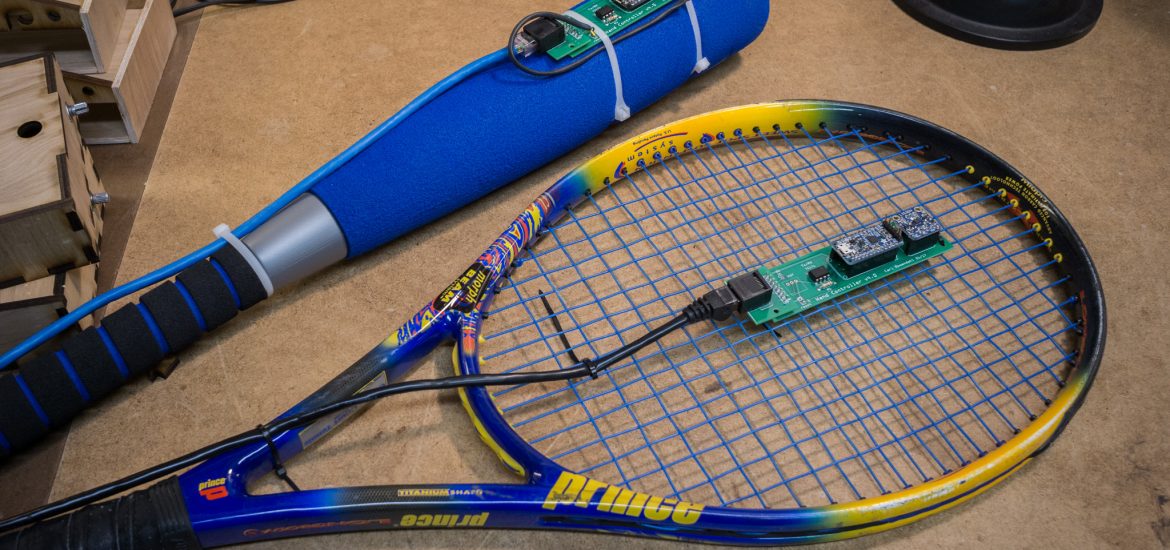
- Tennis racket vs. bat. At the next playtest one of the controllers will be a tennis racket instead of the bat. I’m interested to see how this affects the experience.
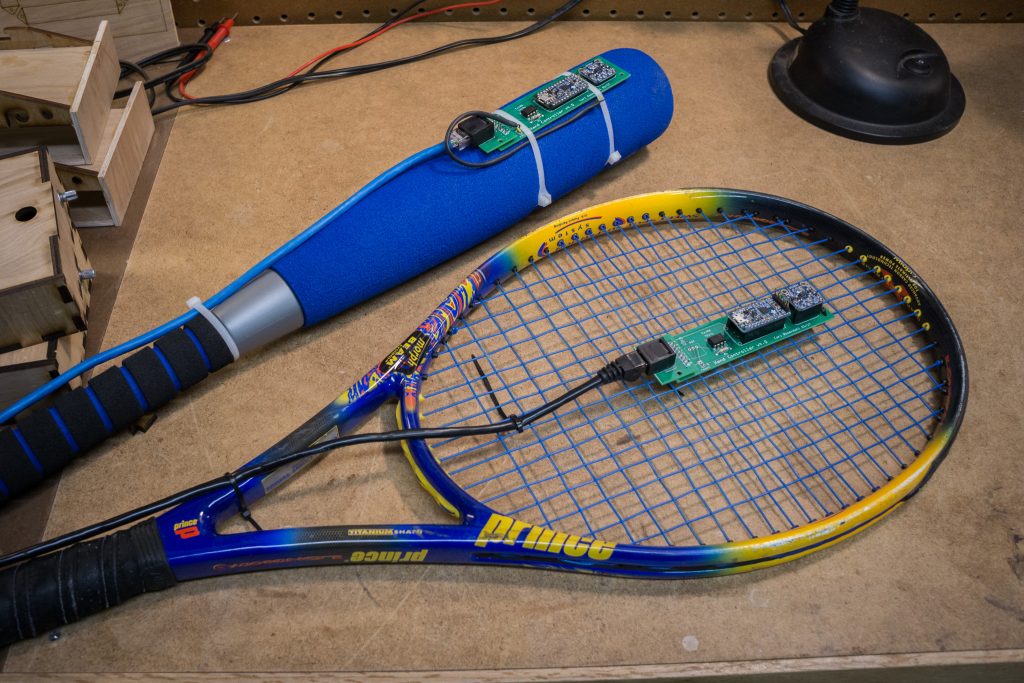
New controller, ready for A/B testing.

Physical Elements
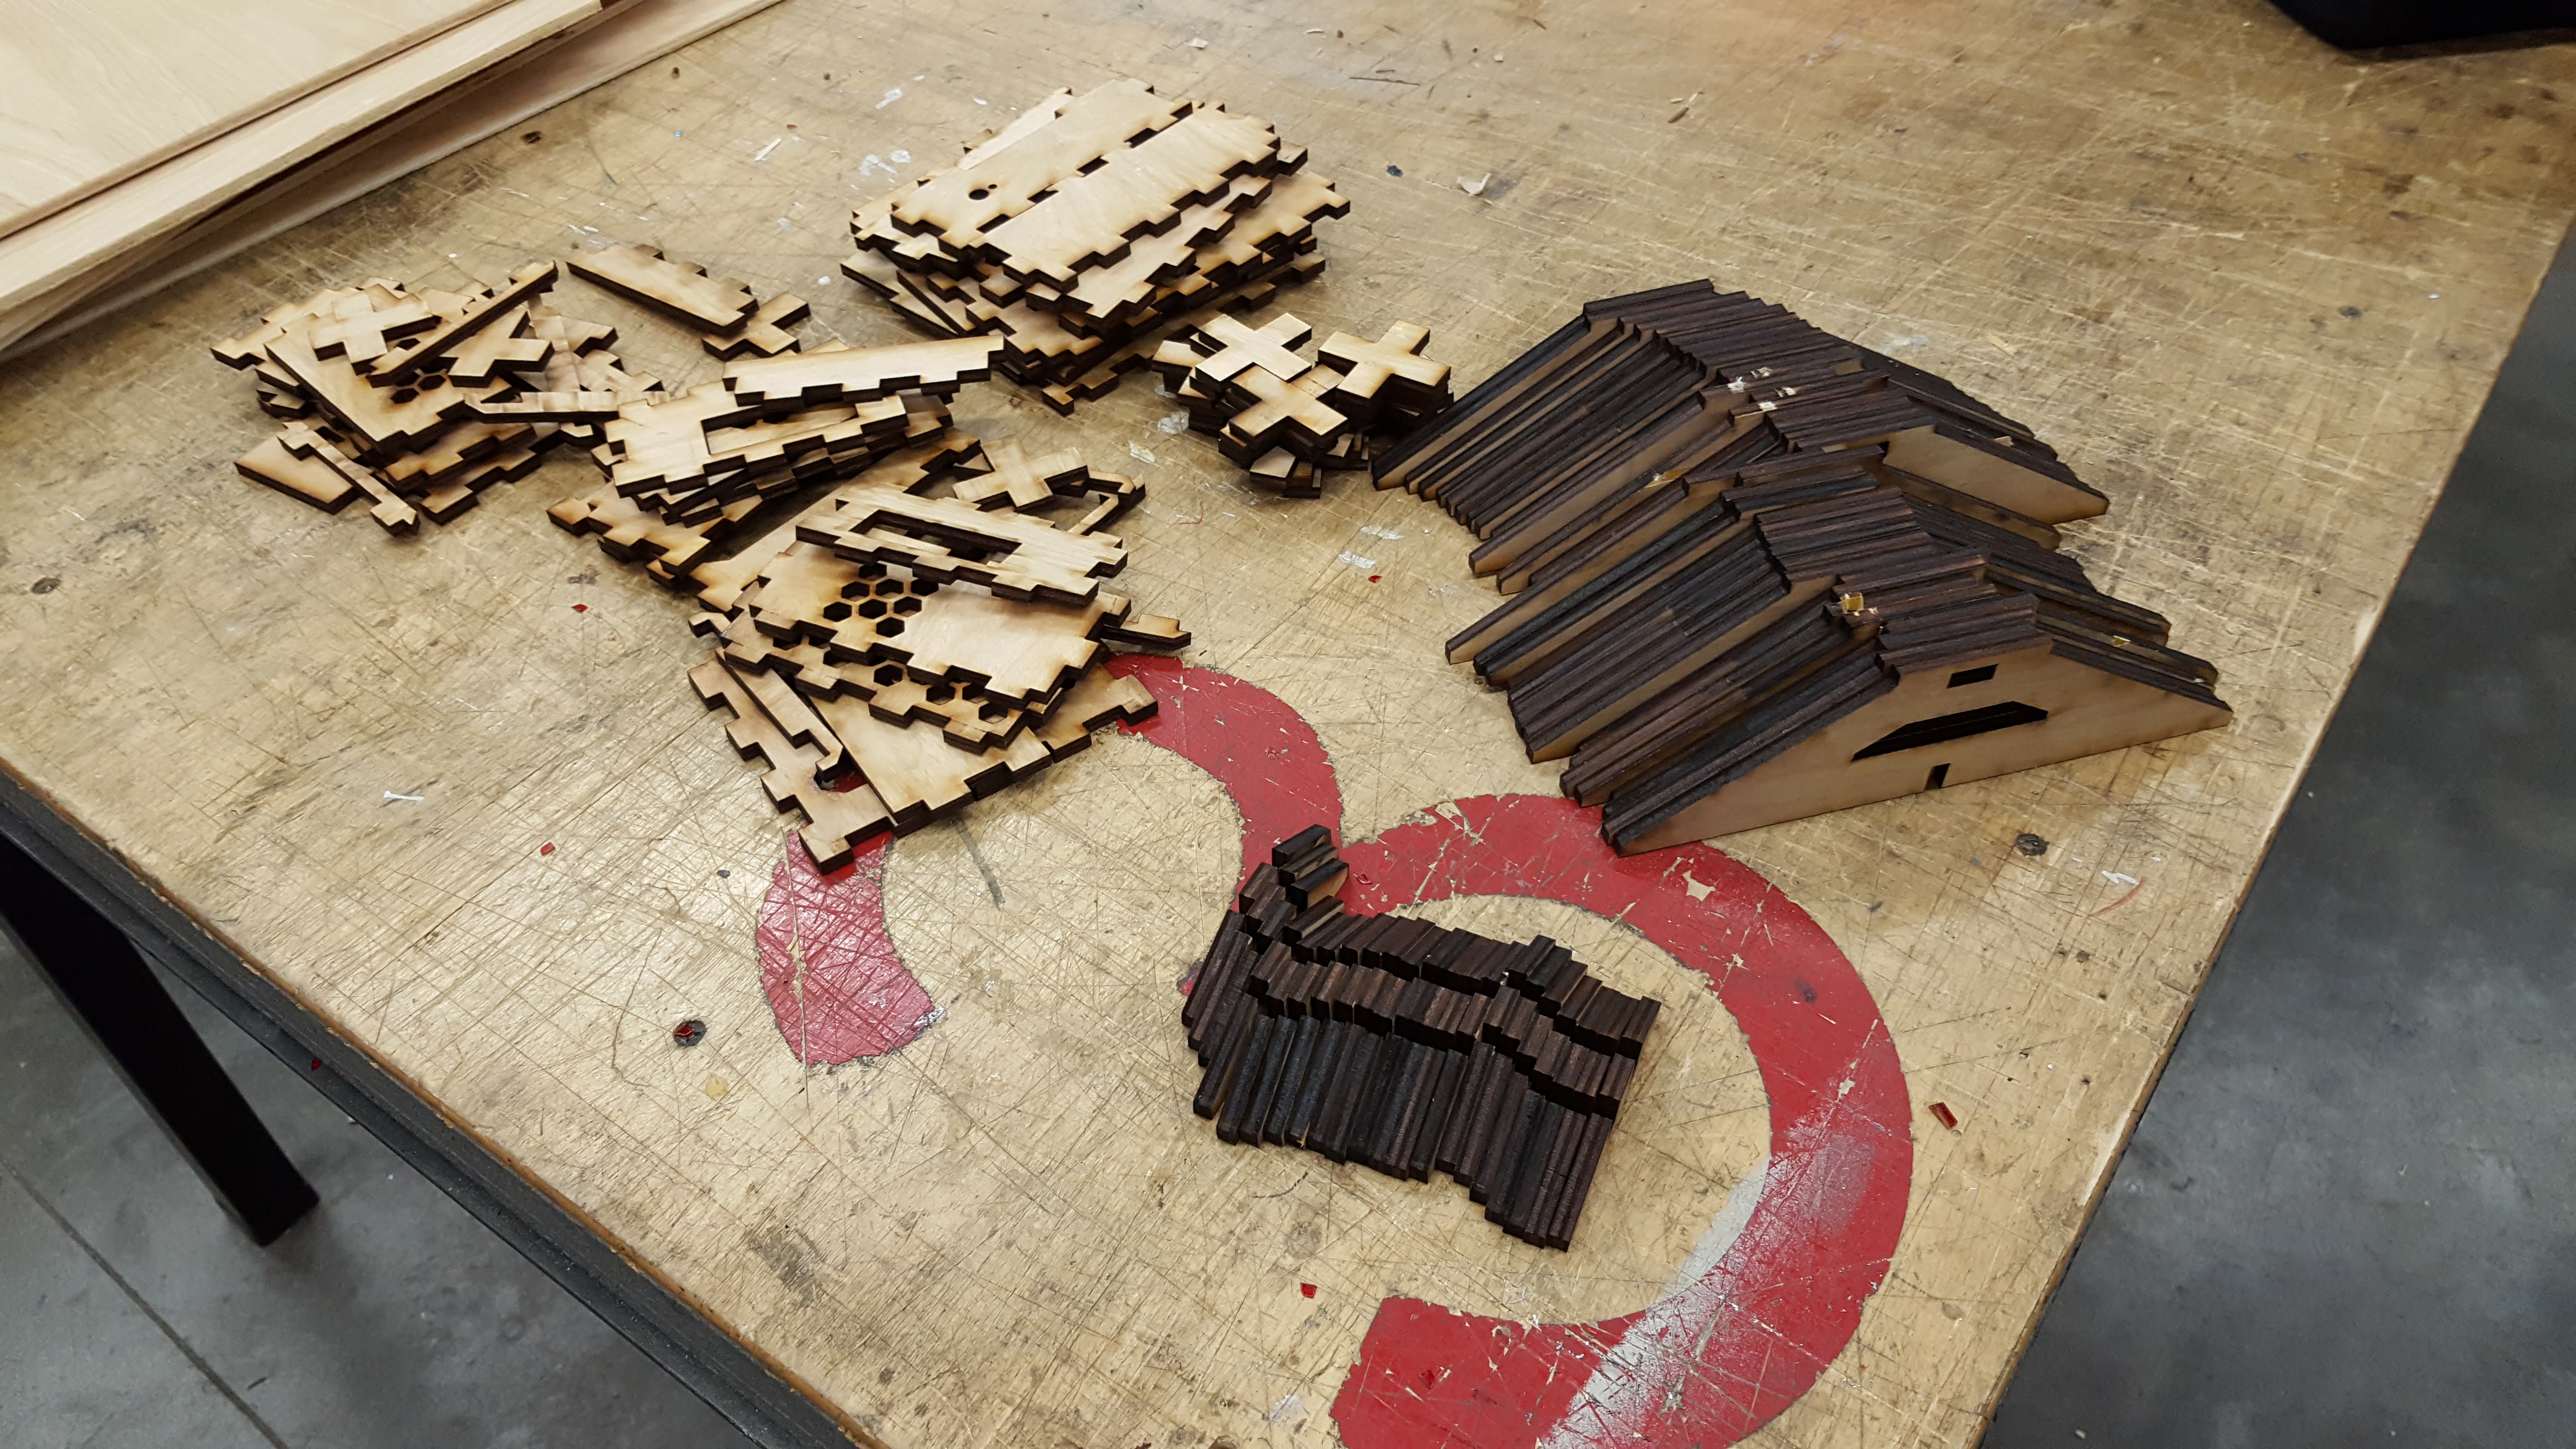
Everything that was laser cut before has been redesigned.
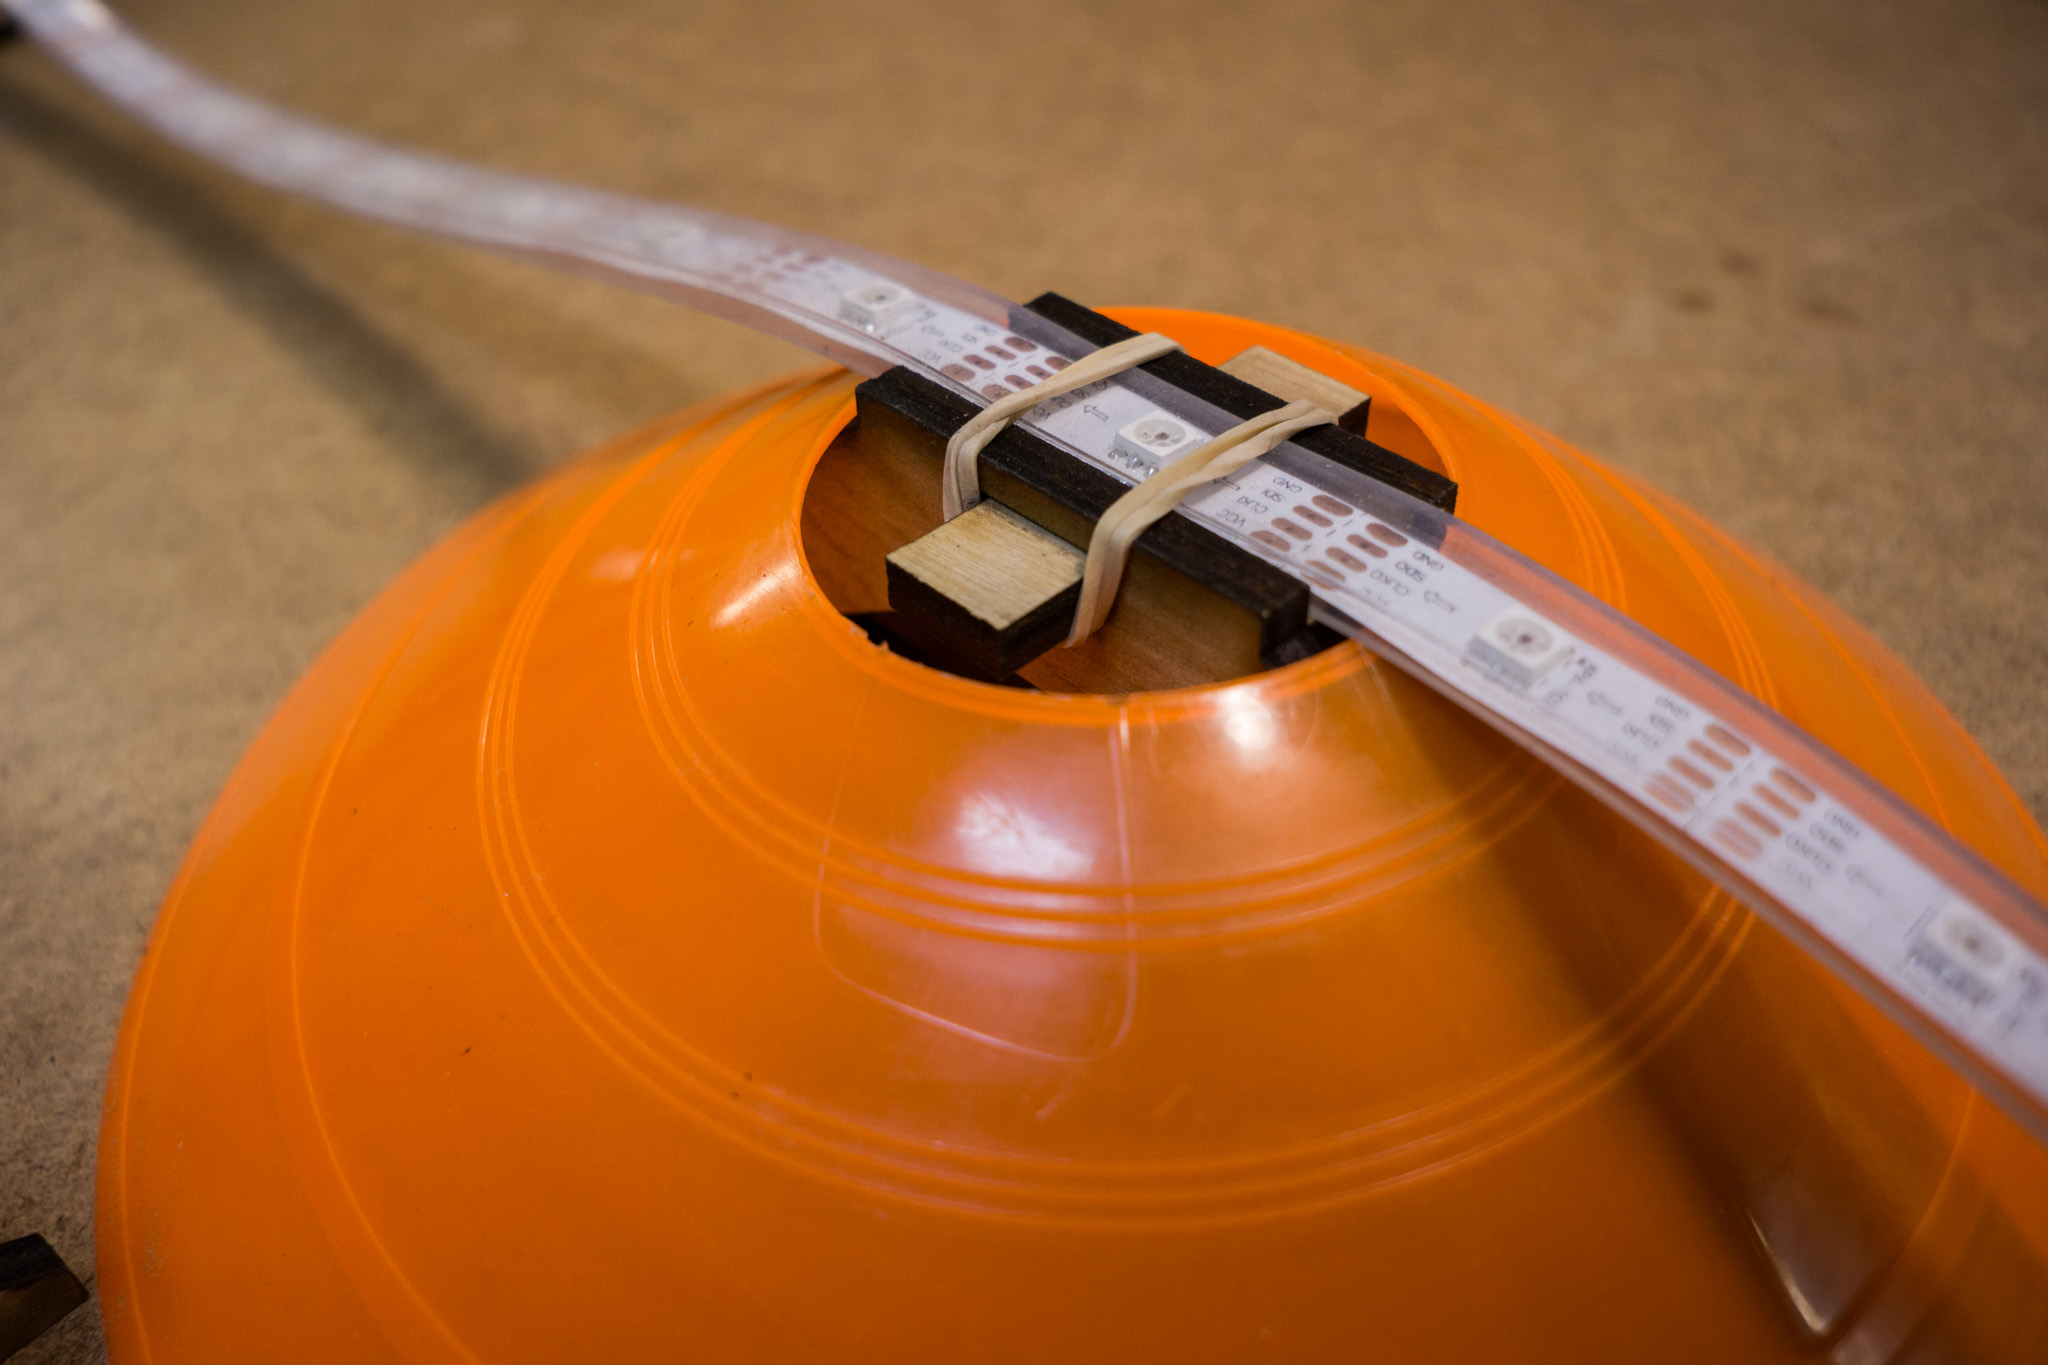
- LED strip holders. The small stands I made for holding the LED strips and cable management were not stable enough, didn’t really help with cable management, and were a pain to set up. I redesigned them to incorporate the orange safety cones. They are larger and sturdier now, but are just as difficult to assemble. The LED strips are held in place by a rubber band which will not stress the strips as much as the prior installation method. The new design does not help manage the power and Ethernet cables. There will be another pass made on this design to incorporate cable management back in and simplify setup.

Left: the laser cut strip holder. Right: same thing with the cone hat, strip, and a rubber band. 
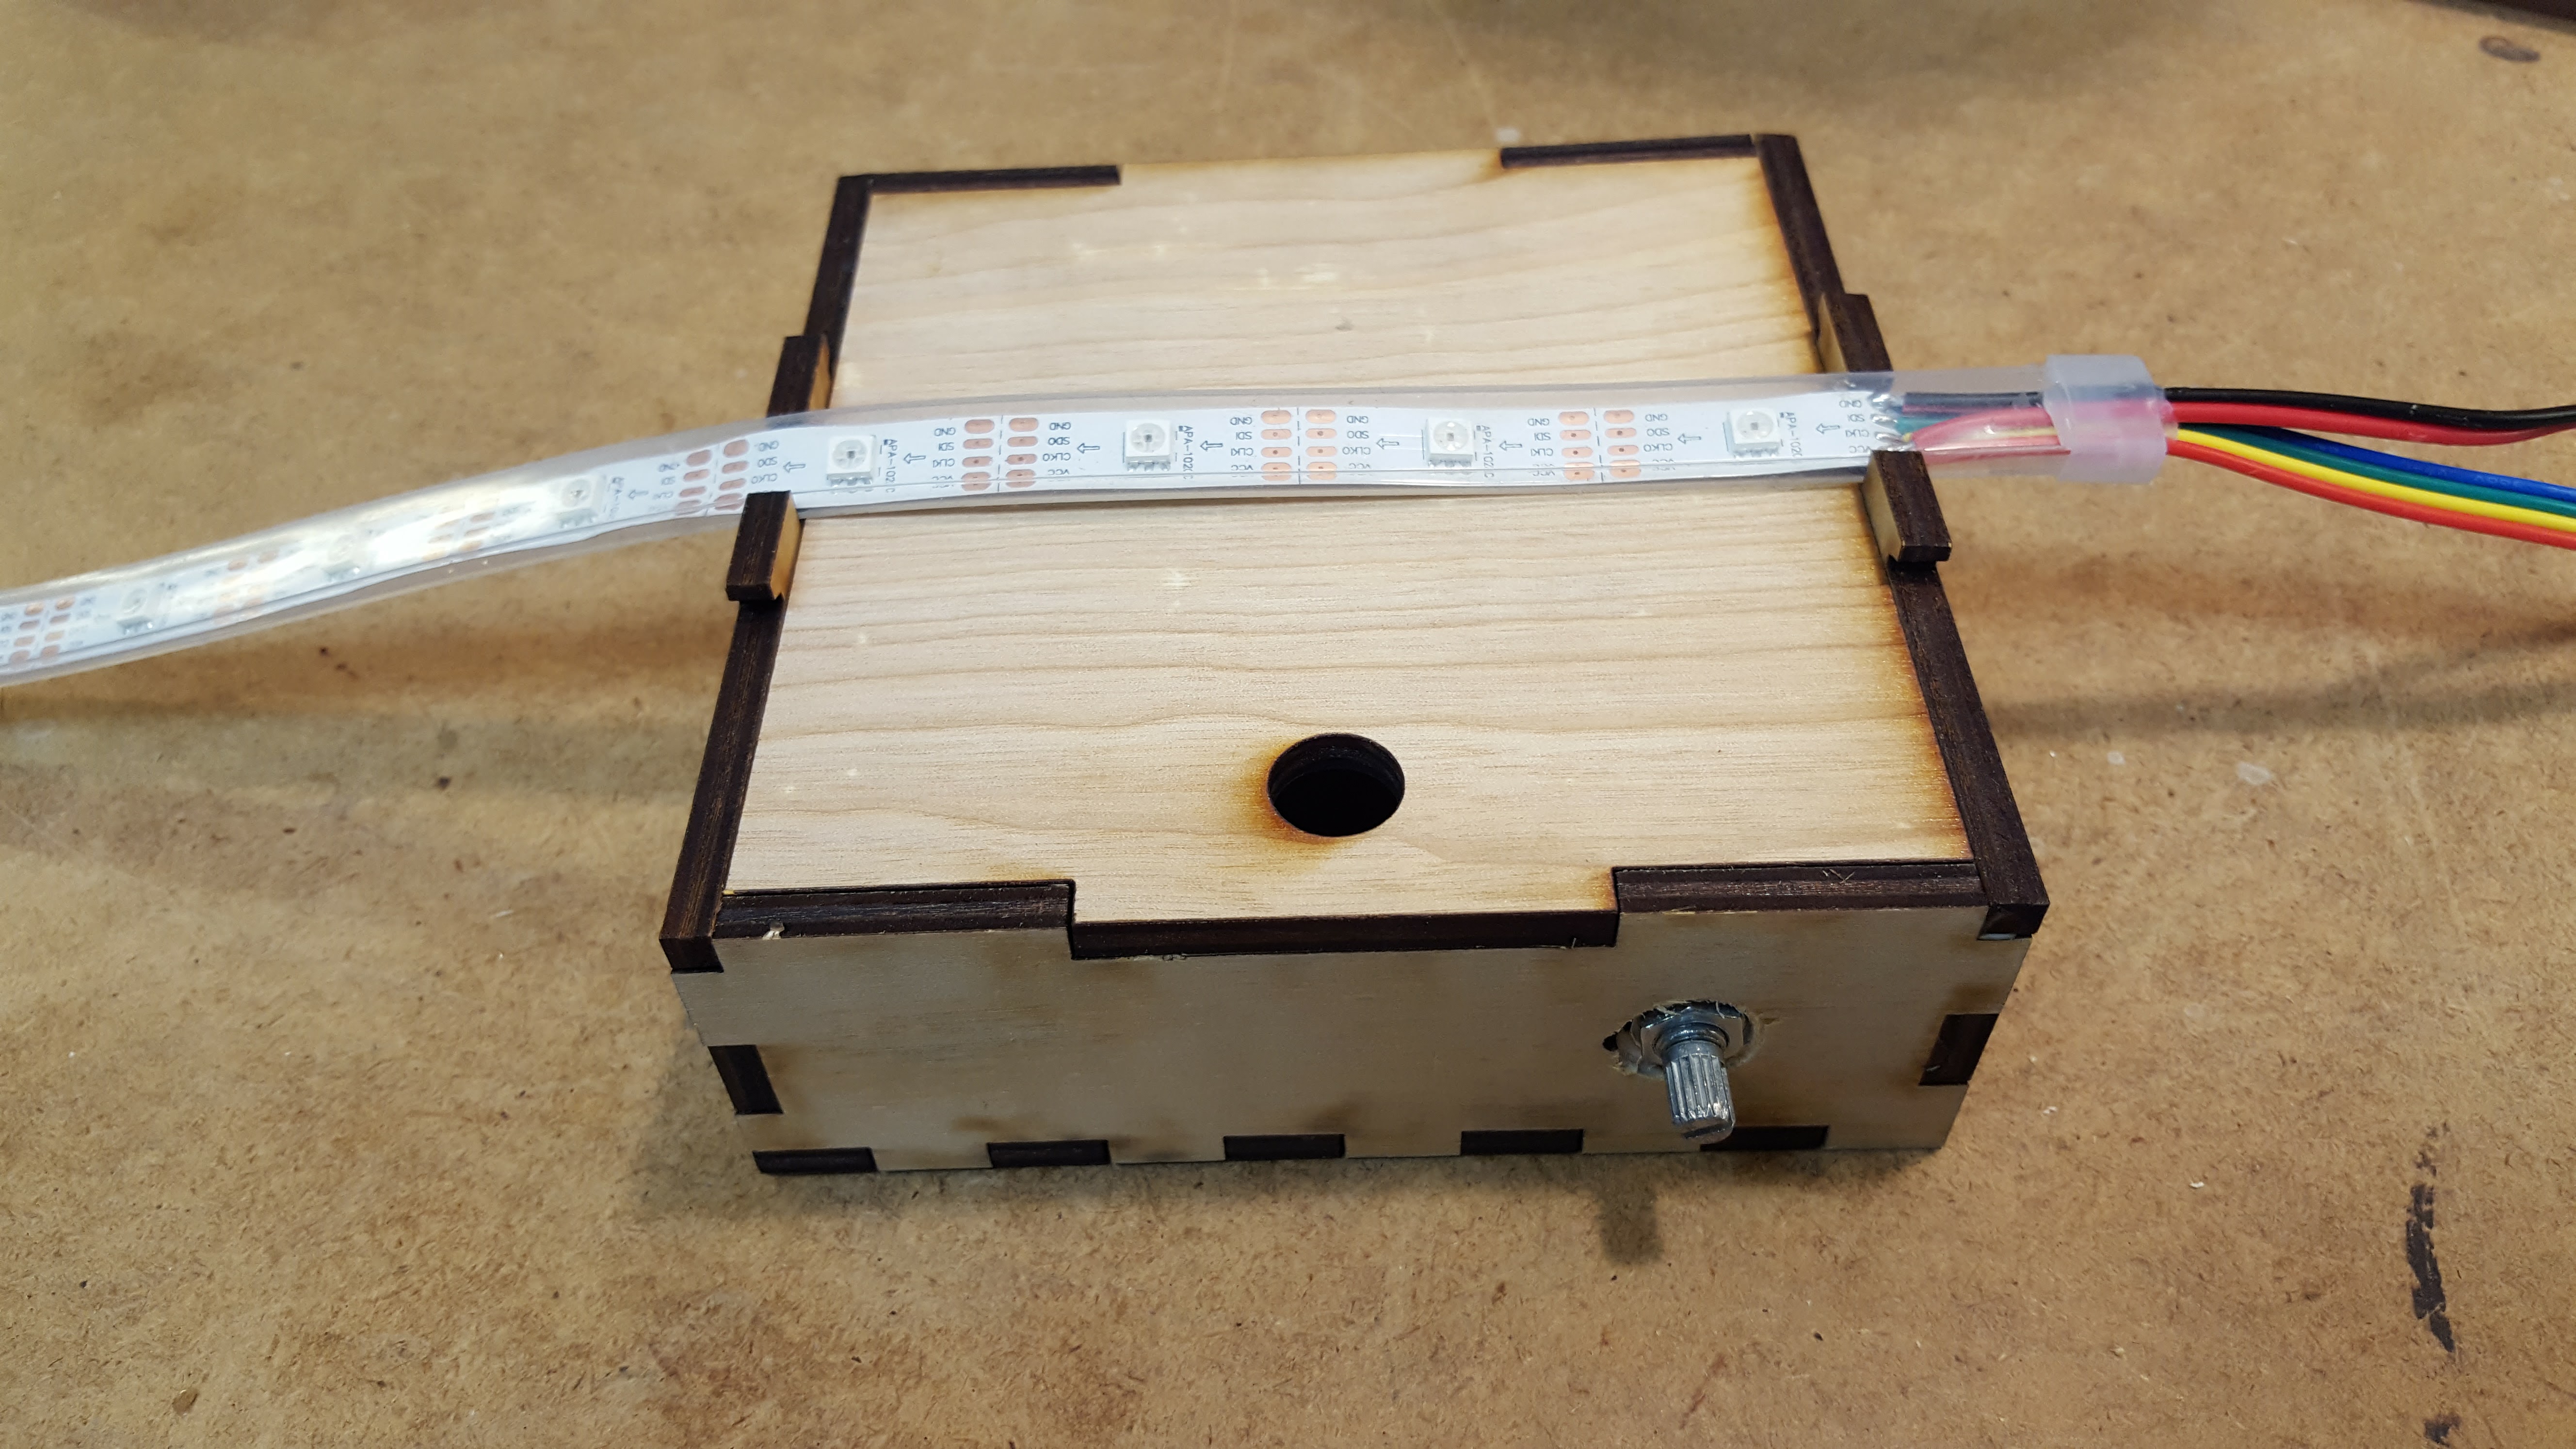
Clever rubber banding. - I remade the sensor boxes at each end that hold the light sensor. They are sleeker and hold the LED strips more gently. They should be more robust in case they get hit again.
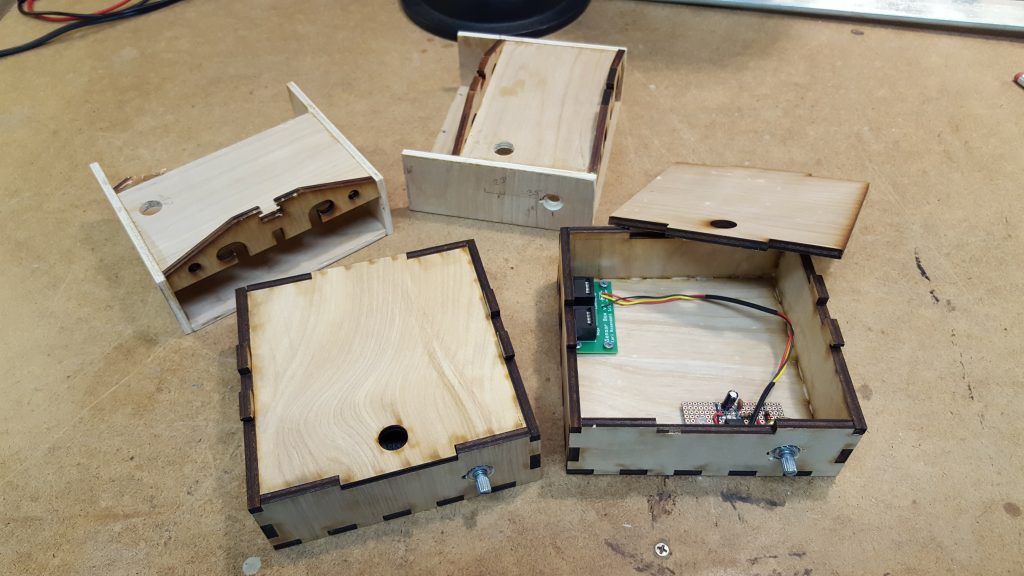
Old version in the back, new ones in front. 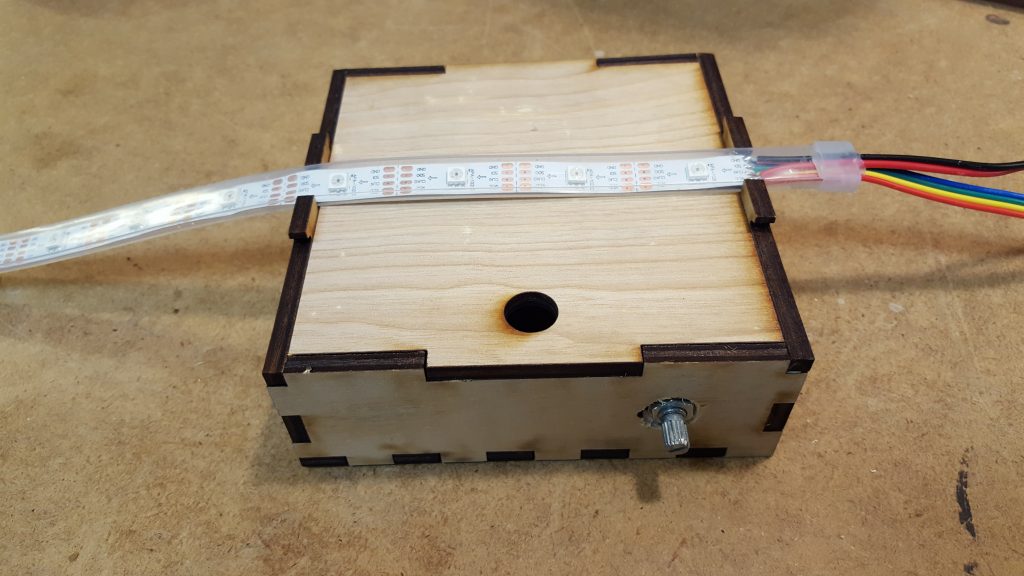
Sensor box with LED strip (minus rubber bands to hold it on). The hole is for the light beam, the knob is to set the sensitivity. 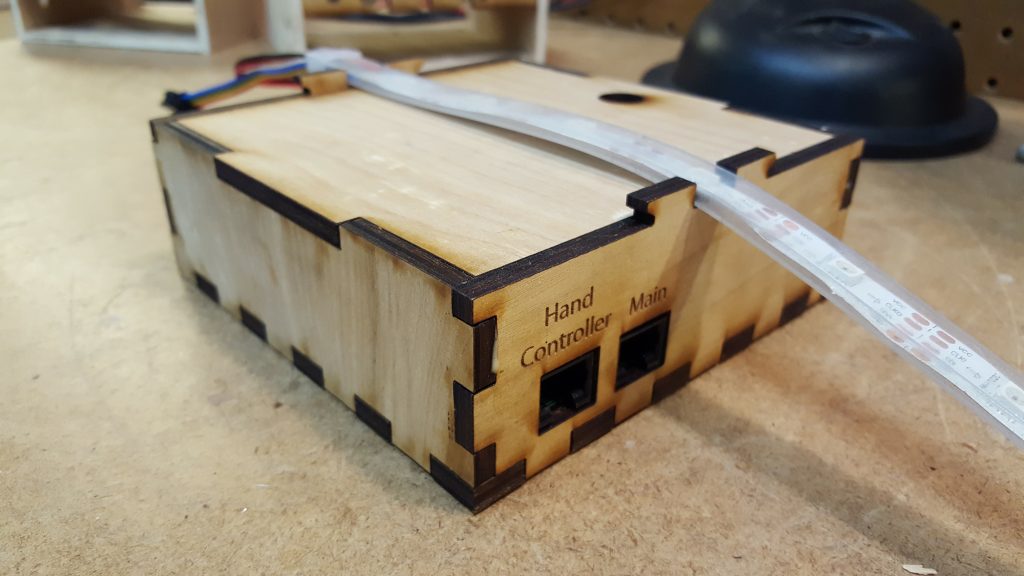
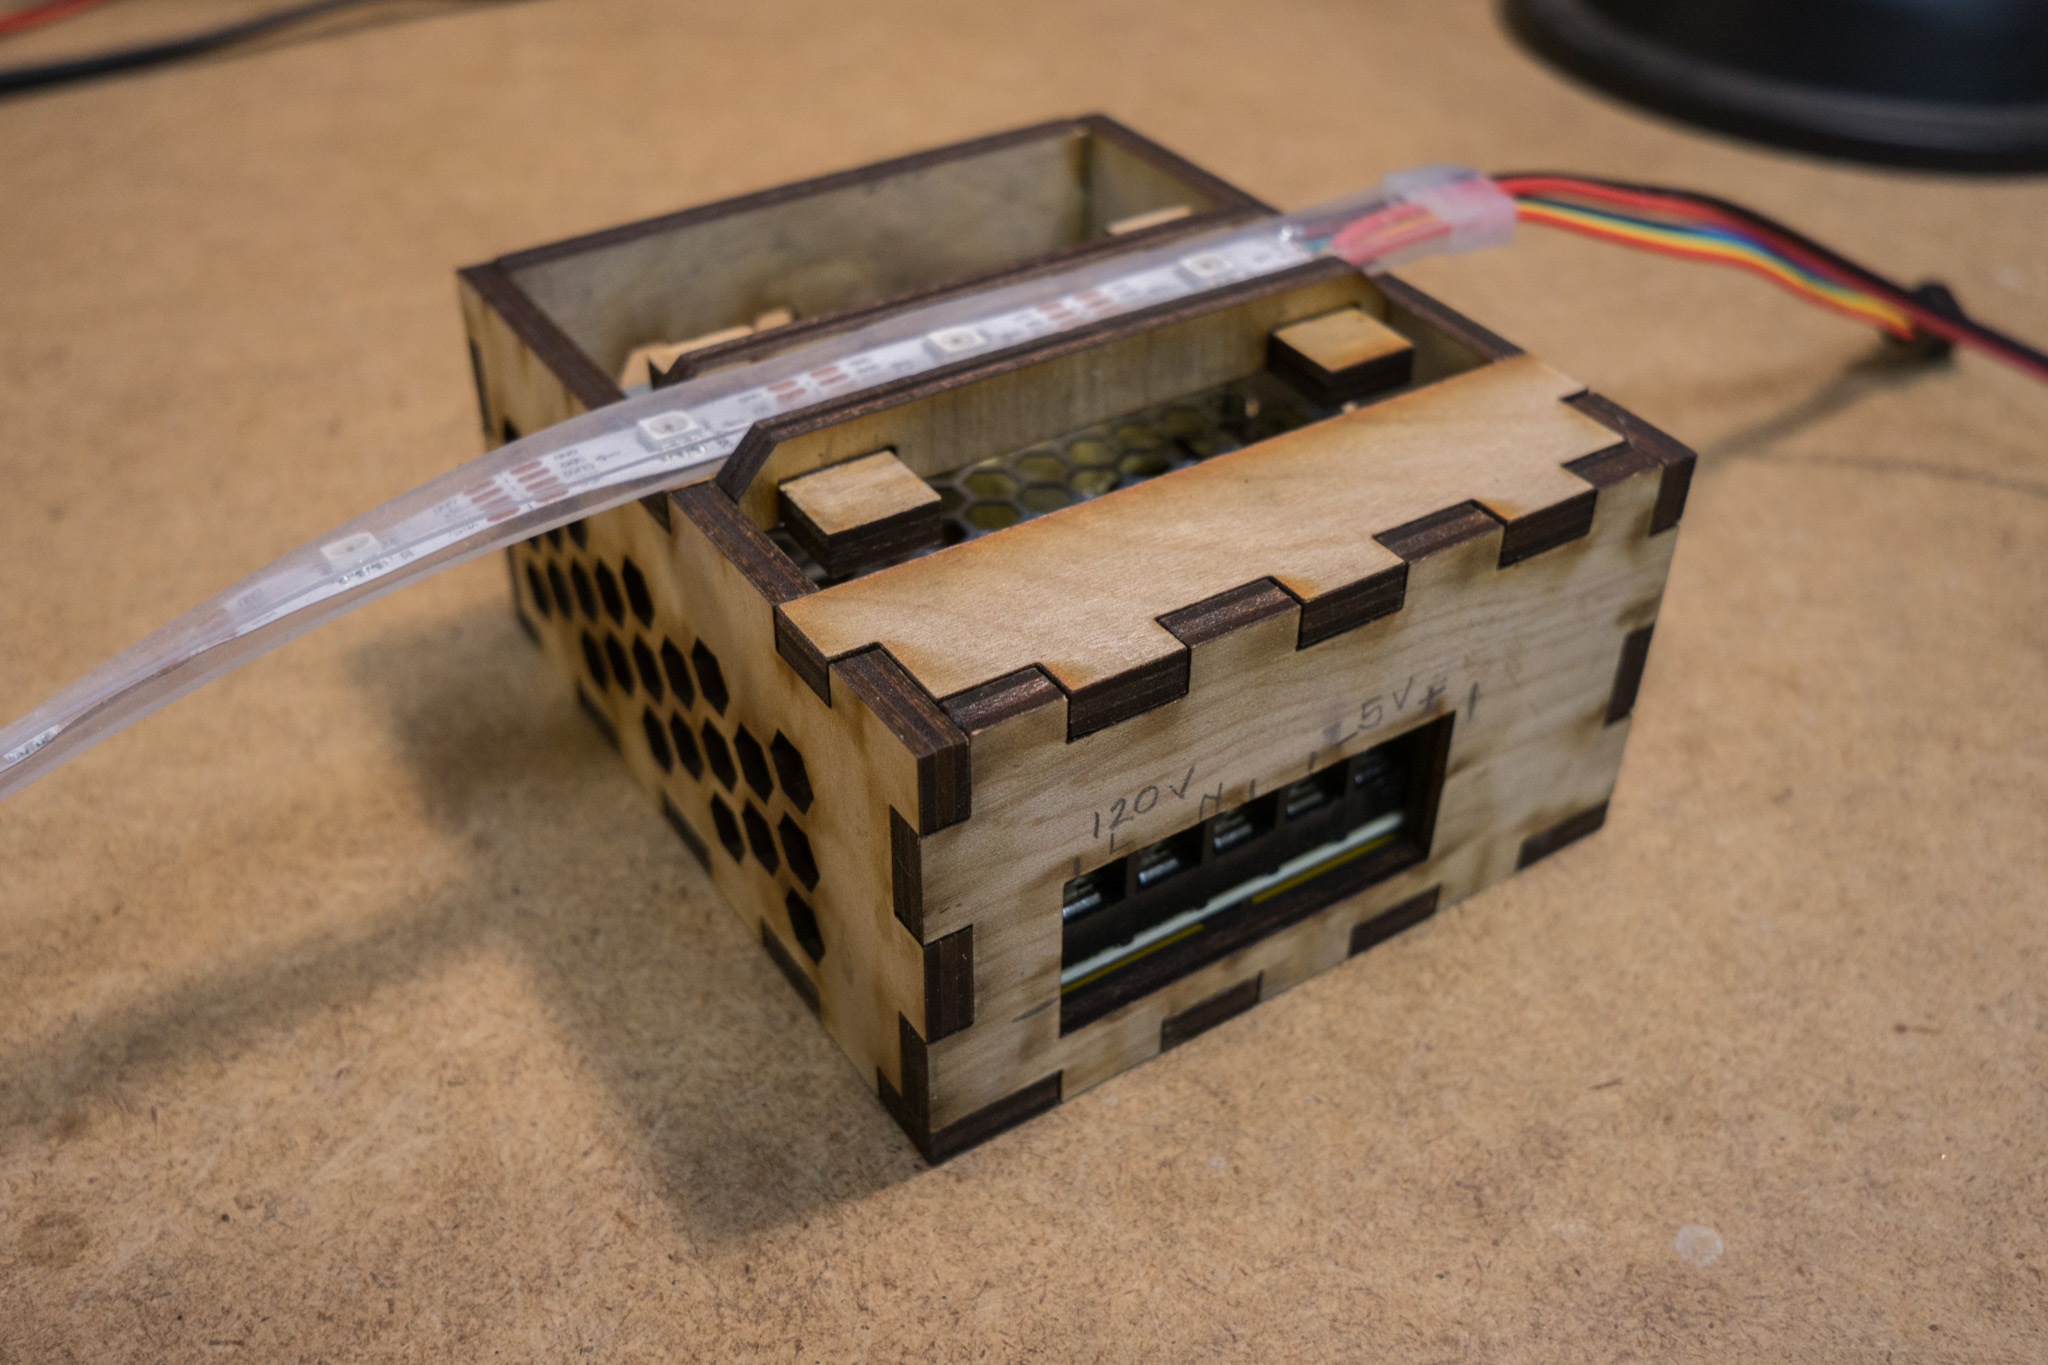
RJ45 jacks for the Hand Controller and the link to the main box. - I made boxes to hold the 5V 10A power supplies that also hold the LED strips where they join together. This is a first pass and it is clear changes are needed to manage the wiring better.
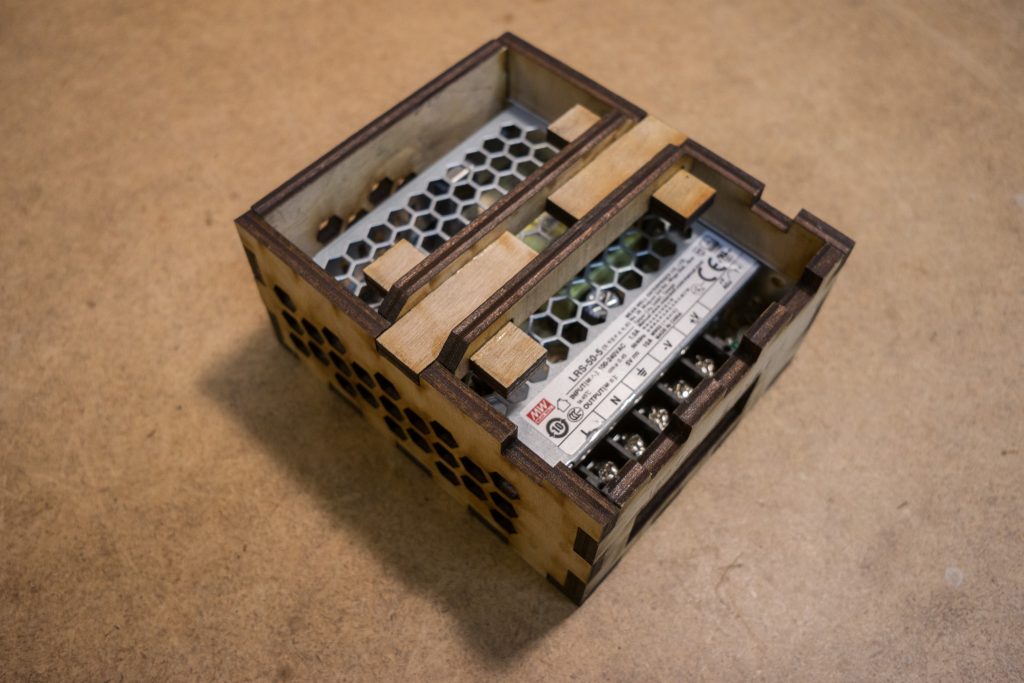
Power supply in its box. 
Power supply with small top piece to block access to terminal block, and with strip installed on top. - Bought two boom mic stands to hold light sources, and put a laser in one of them.

Mic bros 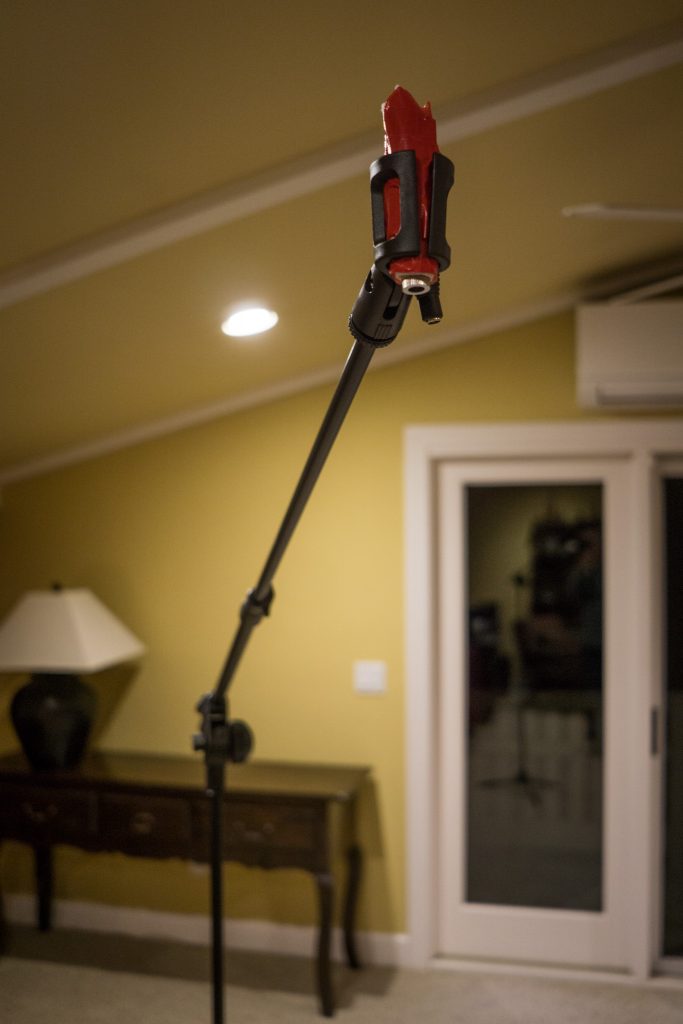
Cheap 5V laser wrapped in stuffing and red tape so it fits in the mic holder. The red (duct) tape screams DANGER! LASER! for effect. - I began working on a large 3 digit display so players can see ball speed or scores. This probably won’t be finished in time for my next playtest.
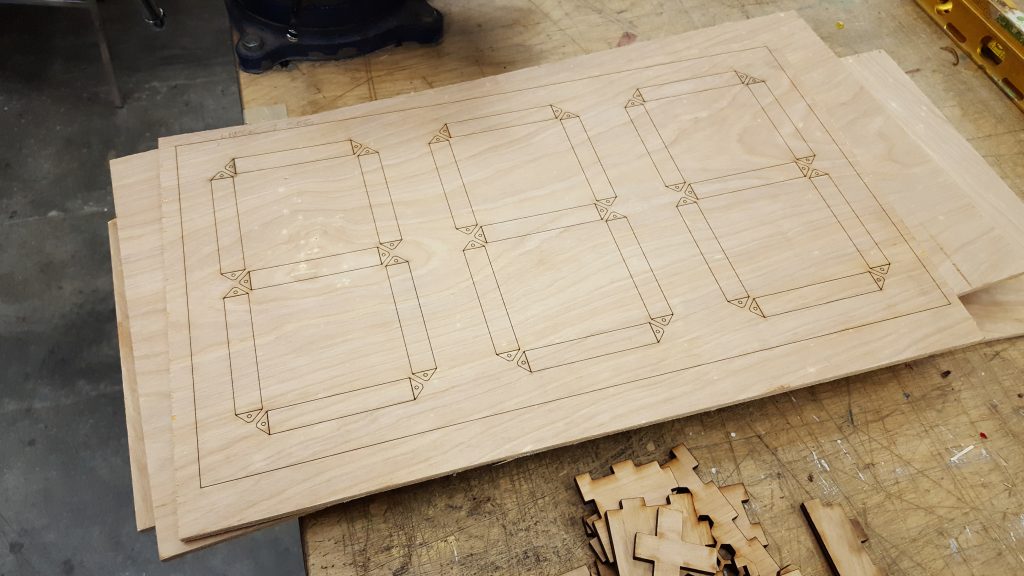
Laser cut template of the large LED display.